How to Bleed a Radiator: A Comprehensive Guide

Radiator bleeding is a critical maintenance task that ensures your home's heating system operates at peak efficiency. By understanding and implementing this process, homeowners can improve their heating performance and potentially reduce energy costs.

Radiator Key needed to bleed a Radiator


Essential Tools

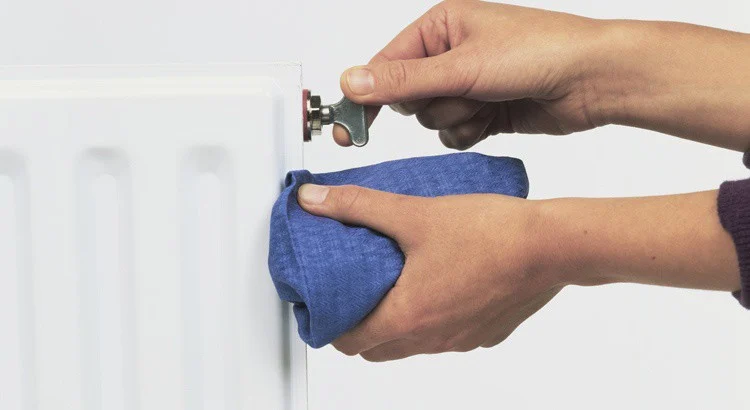
Before beginning, gather essential tools including a radiator bleed key or flat-headed screwdriver, old towels, and a container to catch water. These simple items are crucial for a successful bleeding process.

Diagnosing Radiator Problems

Diagnosing Radiator Problems


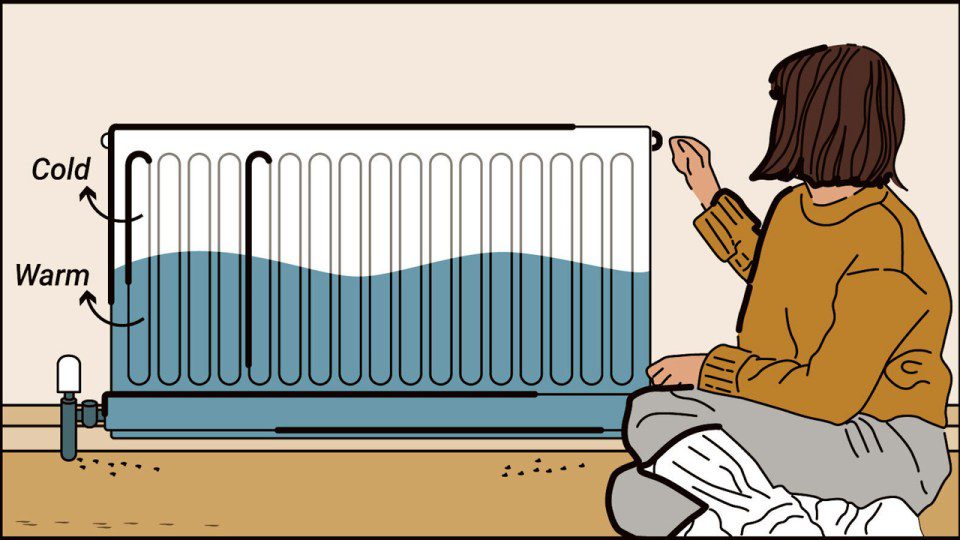
Start by turning on your central heating and systematically checking each radiator. Look for telltale signs of air trapped in the system: cold spots at the top of radiators, uneven heating, or unusual gurgling sounds. Run your hand along each radiator's surface to identify temperature inconsistencies.


Safety is paramount. Switch off the central heating and allow radiators to cool completely for 30-60 minutes. Protect your flooring with towels or containers to prevent water damage during the bleeding process.


If you live in a two-story (or multi-story) house, start draining the radiators from the bottom up. If you're in an apartment, start at the radiator furthest away from the boiler.
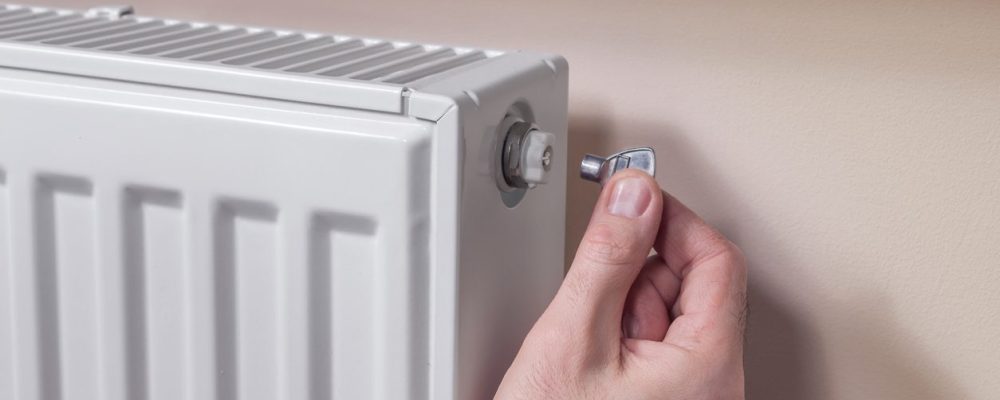
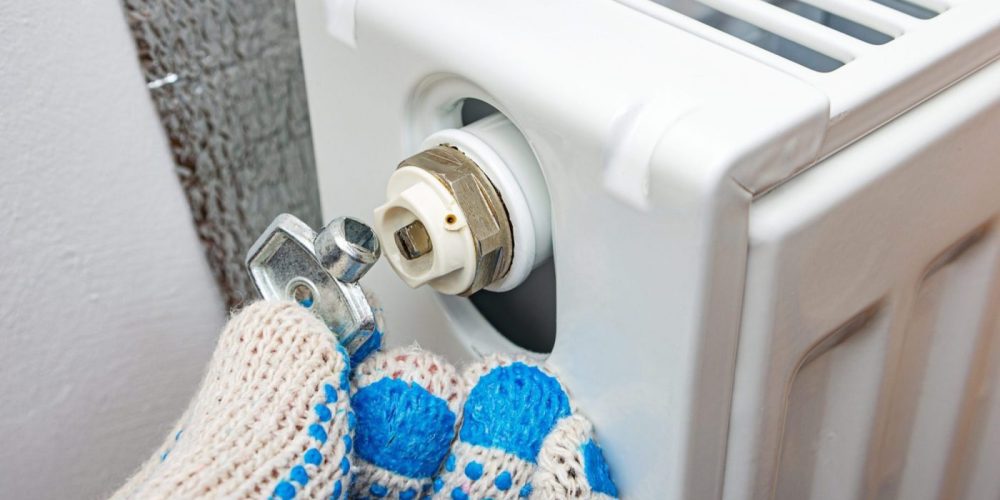
 

Radiator bleed key in plumber's hand.


Locating the Bleed

Valve Locate the bleed valve, typically found at the top of the radiator. It appears as a small square or circular opening, usually positioned at one end of the radiator. You'll need a specific radiator key or a flat-headed screwdriver to access it.


Bleeding the radiator


Bleeding Process


The bleeding process requires careful technique. Position a container beneath the valve to catch water. Insert your key or screwdriver and turn the valve anti-clockwise by only a quarter to half turn. Be cautious not to open it fully to prevent water from gushing out.


Listen carefully as you bleed the radiator. An initial hissing sound indicates air escaping. Continue until water flows steadily without sputtering. This signals that you've successfully removed trapped air from the system.


Closing the Valve


Carefully close the valve by turning it clockwise. Ensure it's tight but avoid over-tightening. Immediately wipe away any water spillage to prevent potential damage.


System Checks


Check your boiler pressure after bleeding. The ideal range is between 1-2 bars. If the pressure is low, consider topping up the system water. Persistent pressure issues may require professional intervention.


Restart the central heating and thoroughly test the radiators. Verify even heating across all radiators by feeling their surface. The same temperature indicates a successful bleeding process.


Regular maintenance is key. Bleed your radiators annually or when you notice signs of inefficiency such as reduced heating performance, unusual sounds, or uneven warmth.


Know when to seek professional help. Persistent bleeding difficulties, significant pressure fluctuations, unexplained water leakage, or complex multi-radiator problems warrant expert attention.


Bleeding radiators is a straightforward DIY task that can significantly improve your home's heating efficiency. Patience and careful execution are essential. By following these steps, you'll maintain a warm, comfortable living environment and potentially reduce your energy expenditure.

Related Posts